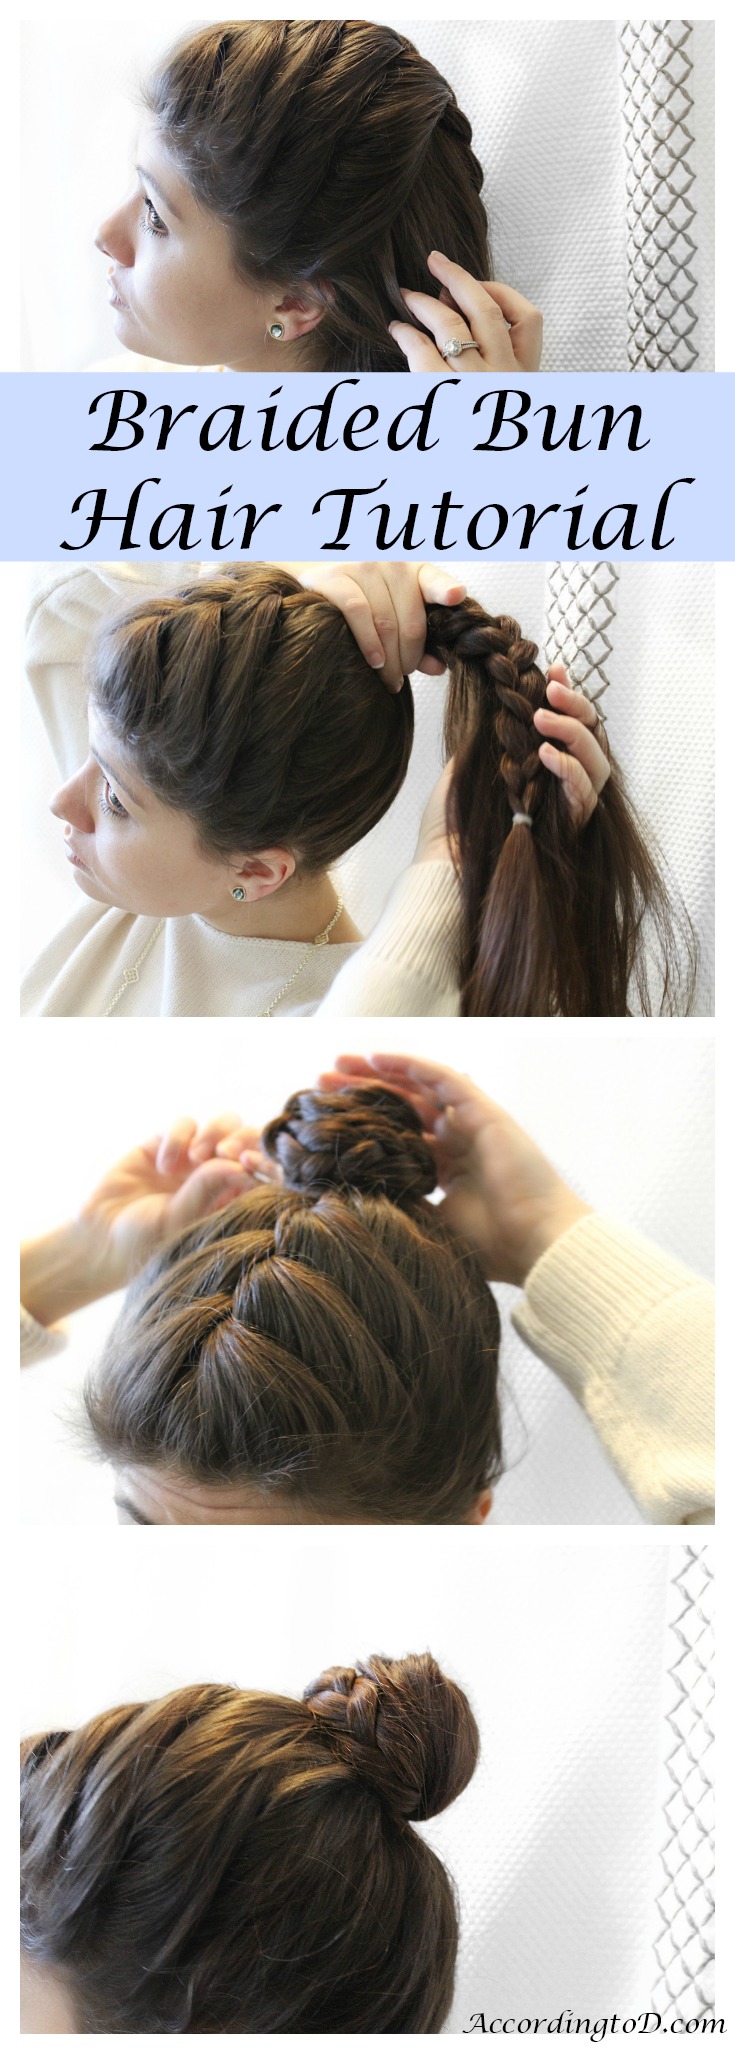
Quick And Simple Braided Bun Hair Tutorial
Weather you're in college and rushing class, traveling and catching an early flight, or a mother and just trying to get out of the house - quick hairstyles are a necessity for any busy woman. As a new mom, quick and easy hairstyles are my thing. When I'm in a rush but I still want to look professional and relatively put together (haha because since having a baby I'm not sure that I ever feel "put together") this is one of my go to hair-styles.
The only thing about this hair tutorial that you might not find simple is the french braid. I know how to french braid from my high-school cheer days and I wear them in my hair a number of different ways, but if you don't know how I believe you can still accomplish a similar look. Just put your hair in a ponytail, braid a section of the pony and put it in a bun - see it's simple.
For those of you who can french braid, here is my braided bun hair tutorial.
*Don't mind all the frizzy hair on the front of my head - after having Giulian I lost quite a bit of hair around my forehead and it's starting to grow back (and looks a bit crazy haha).
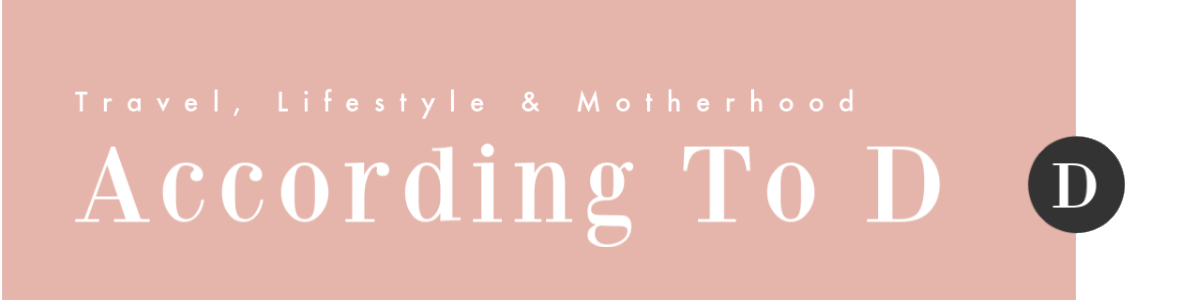
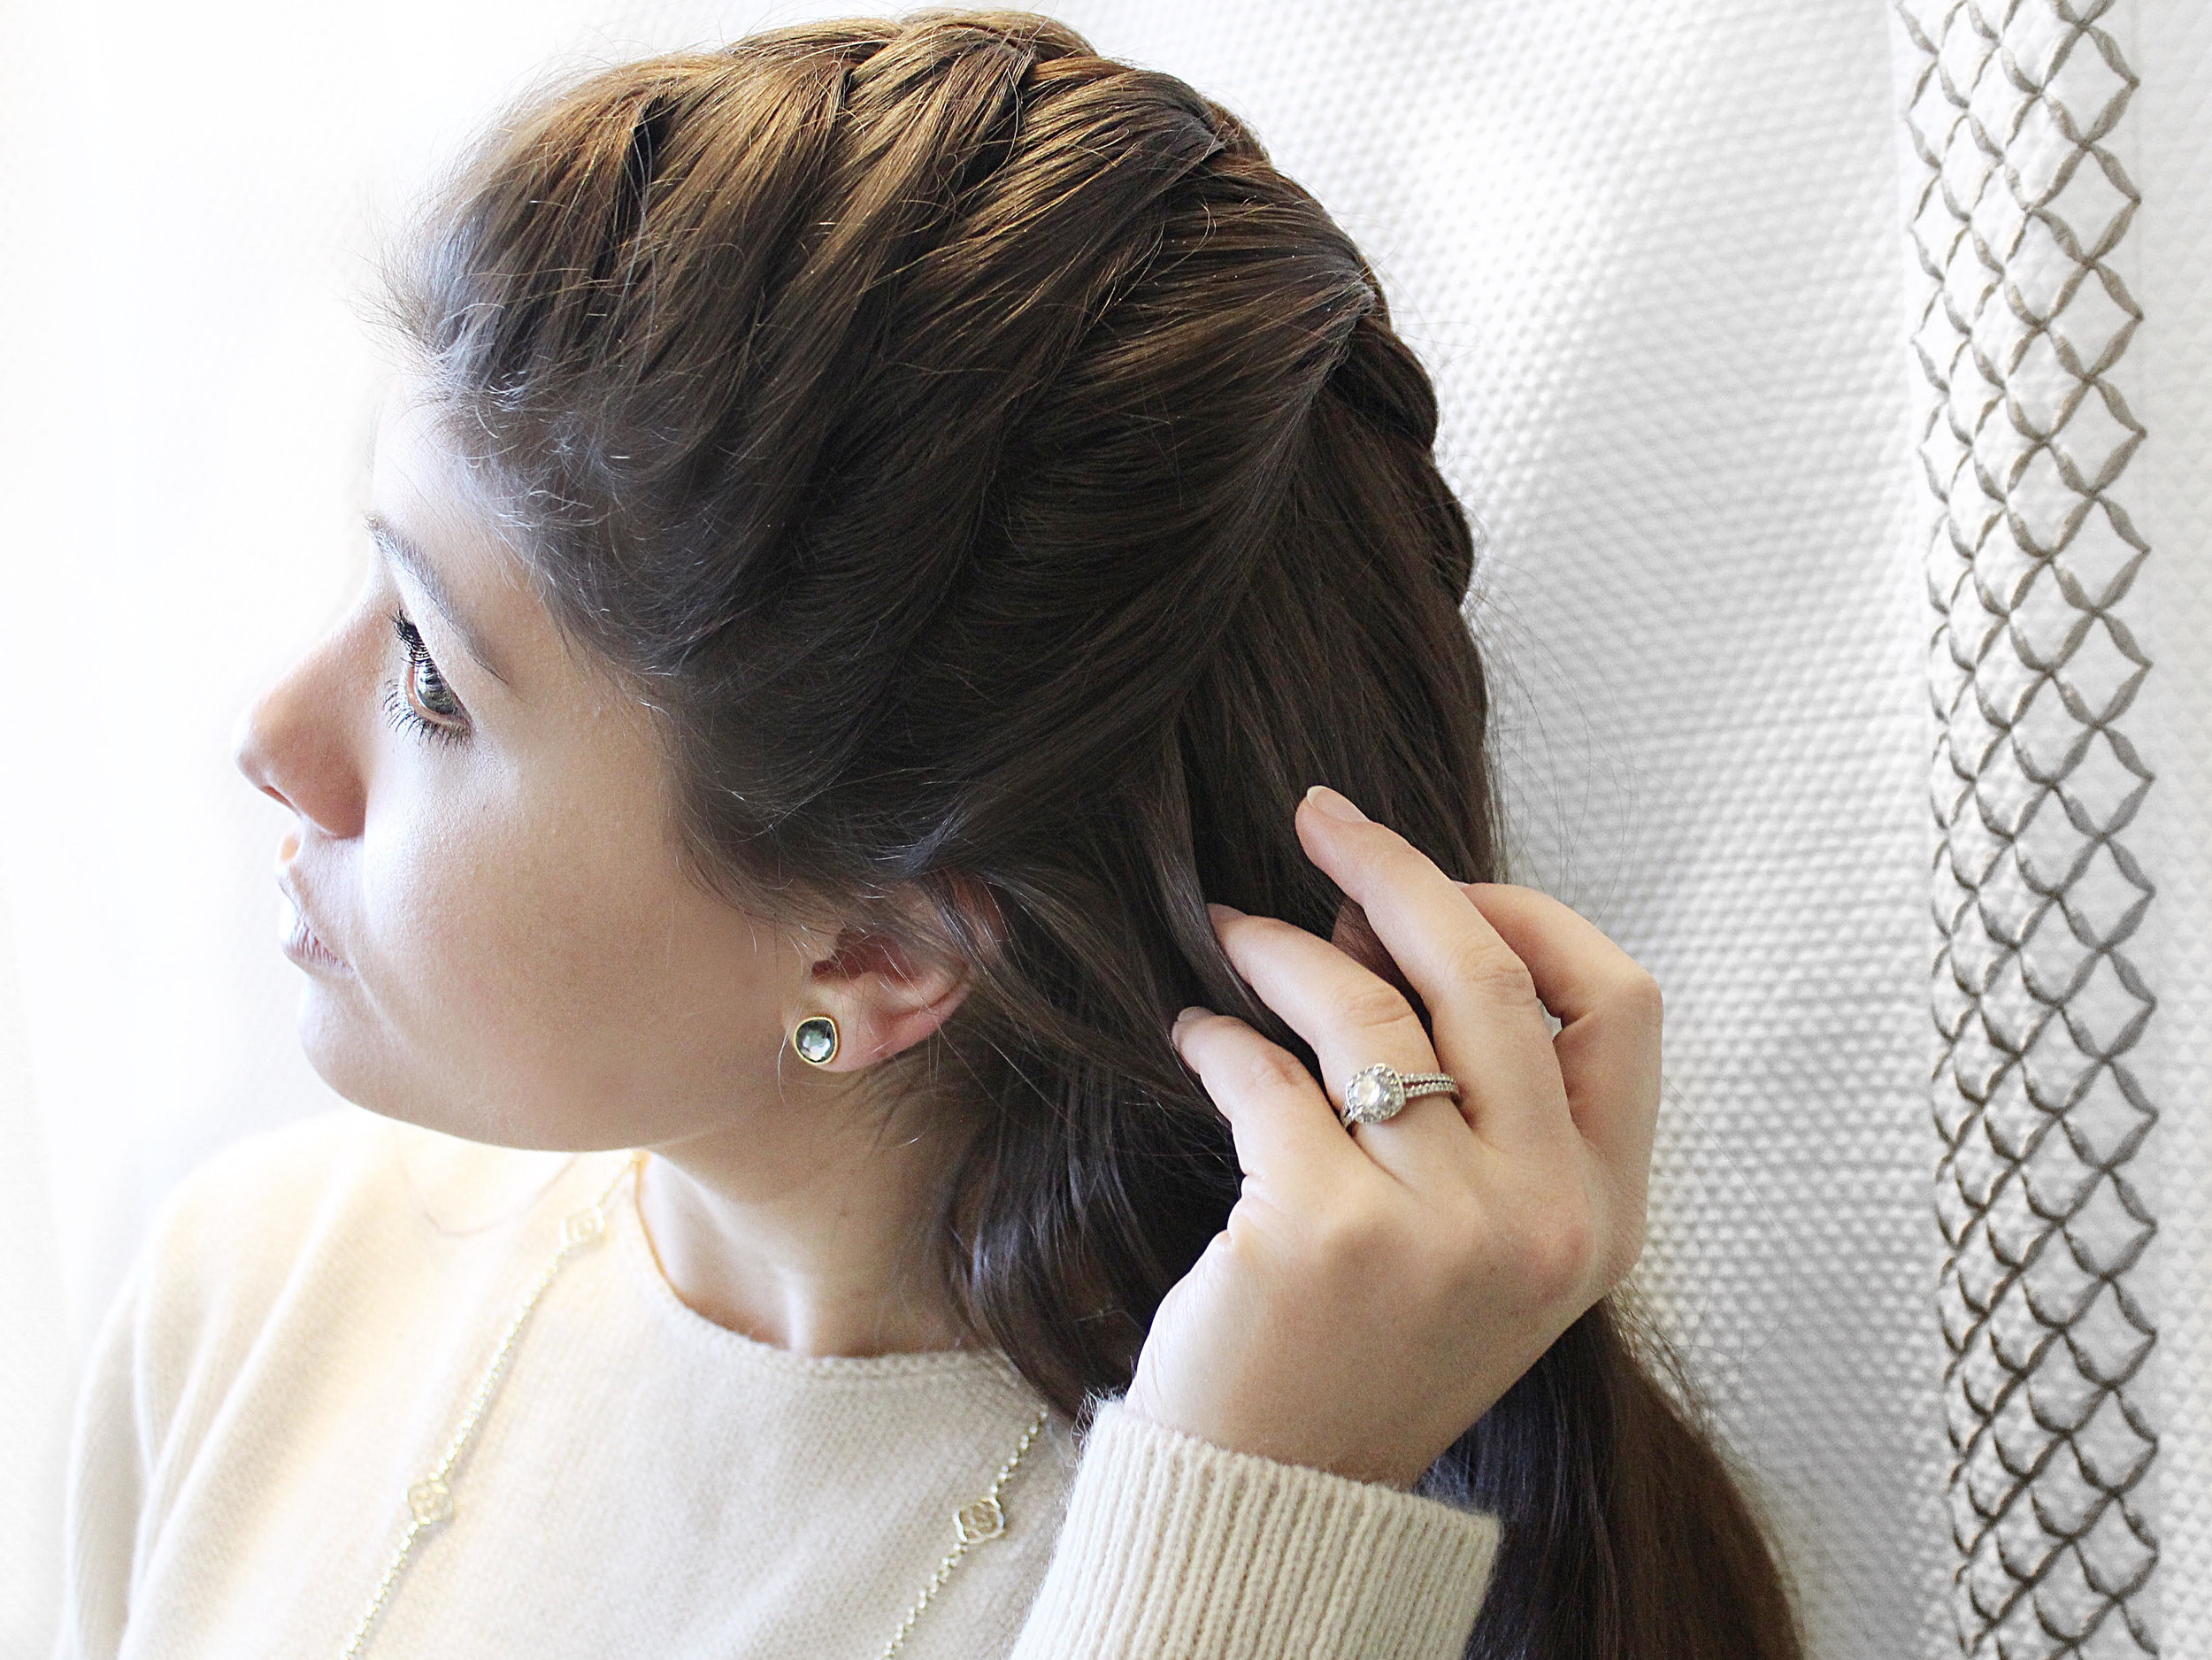
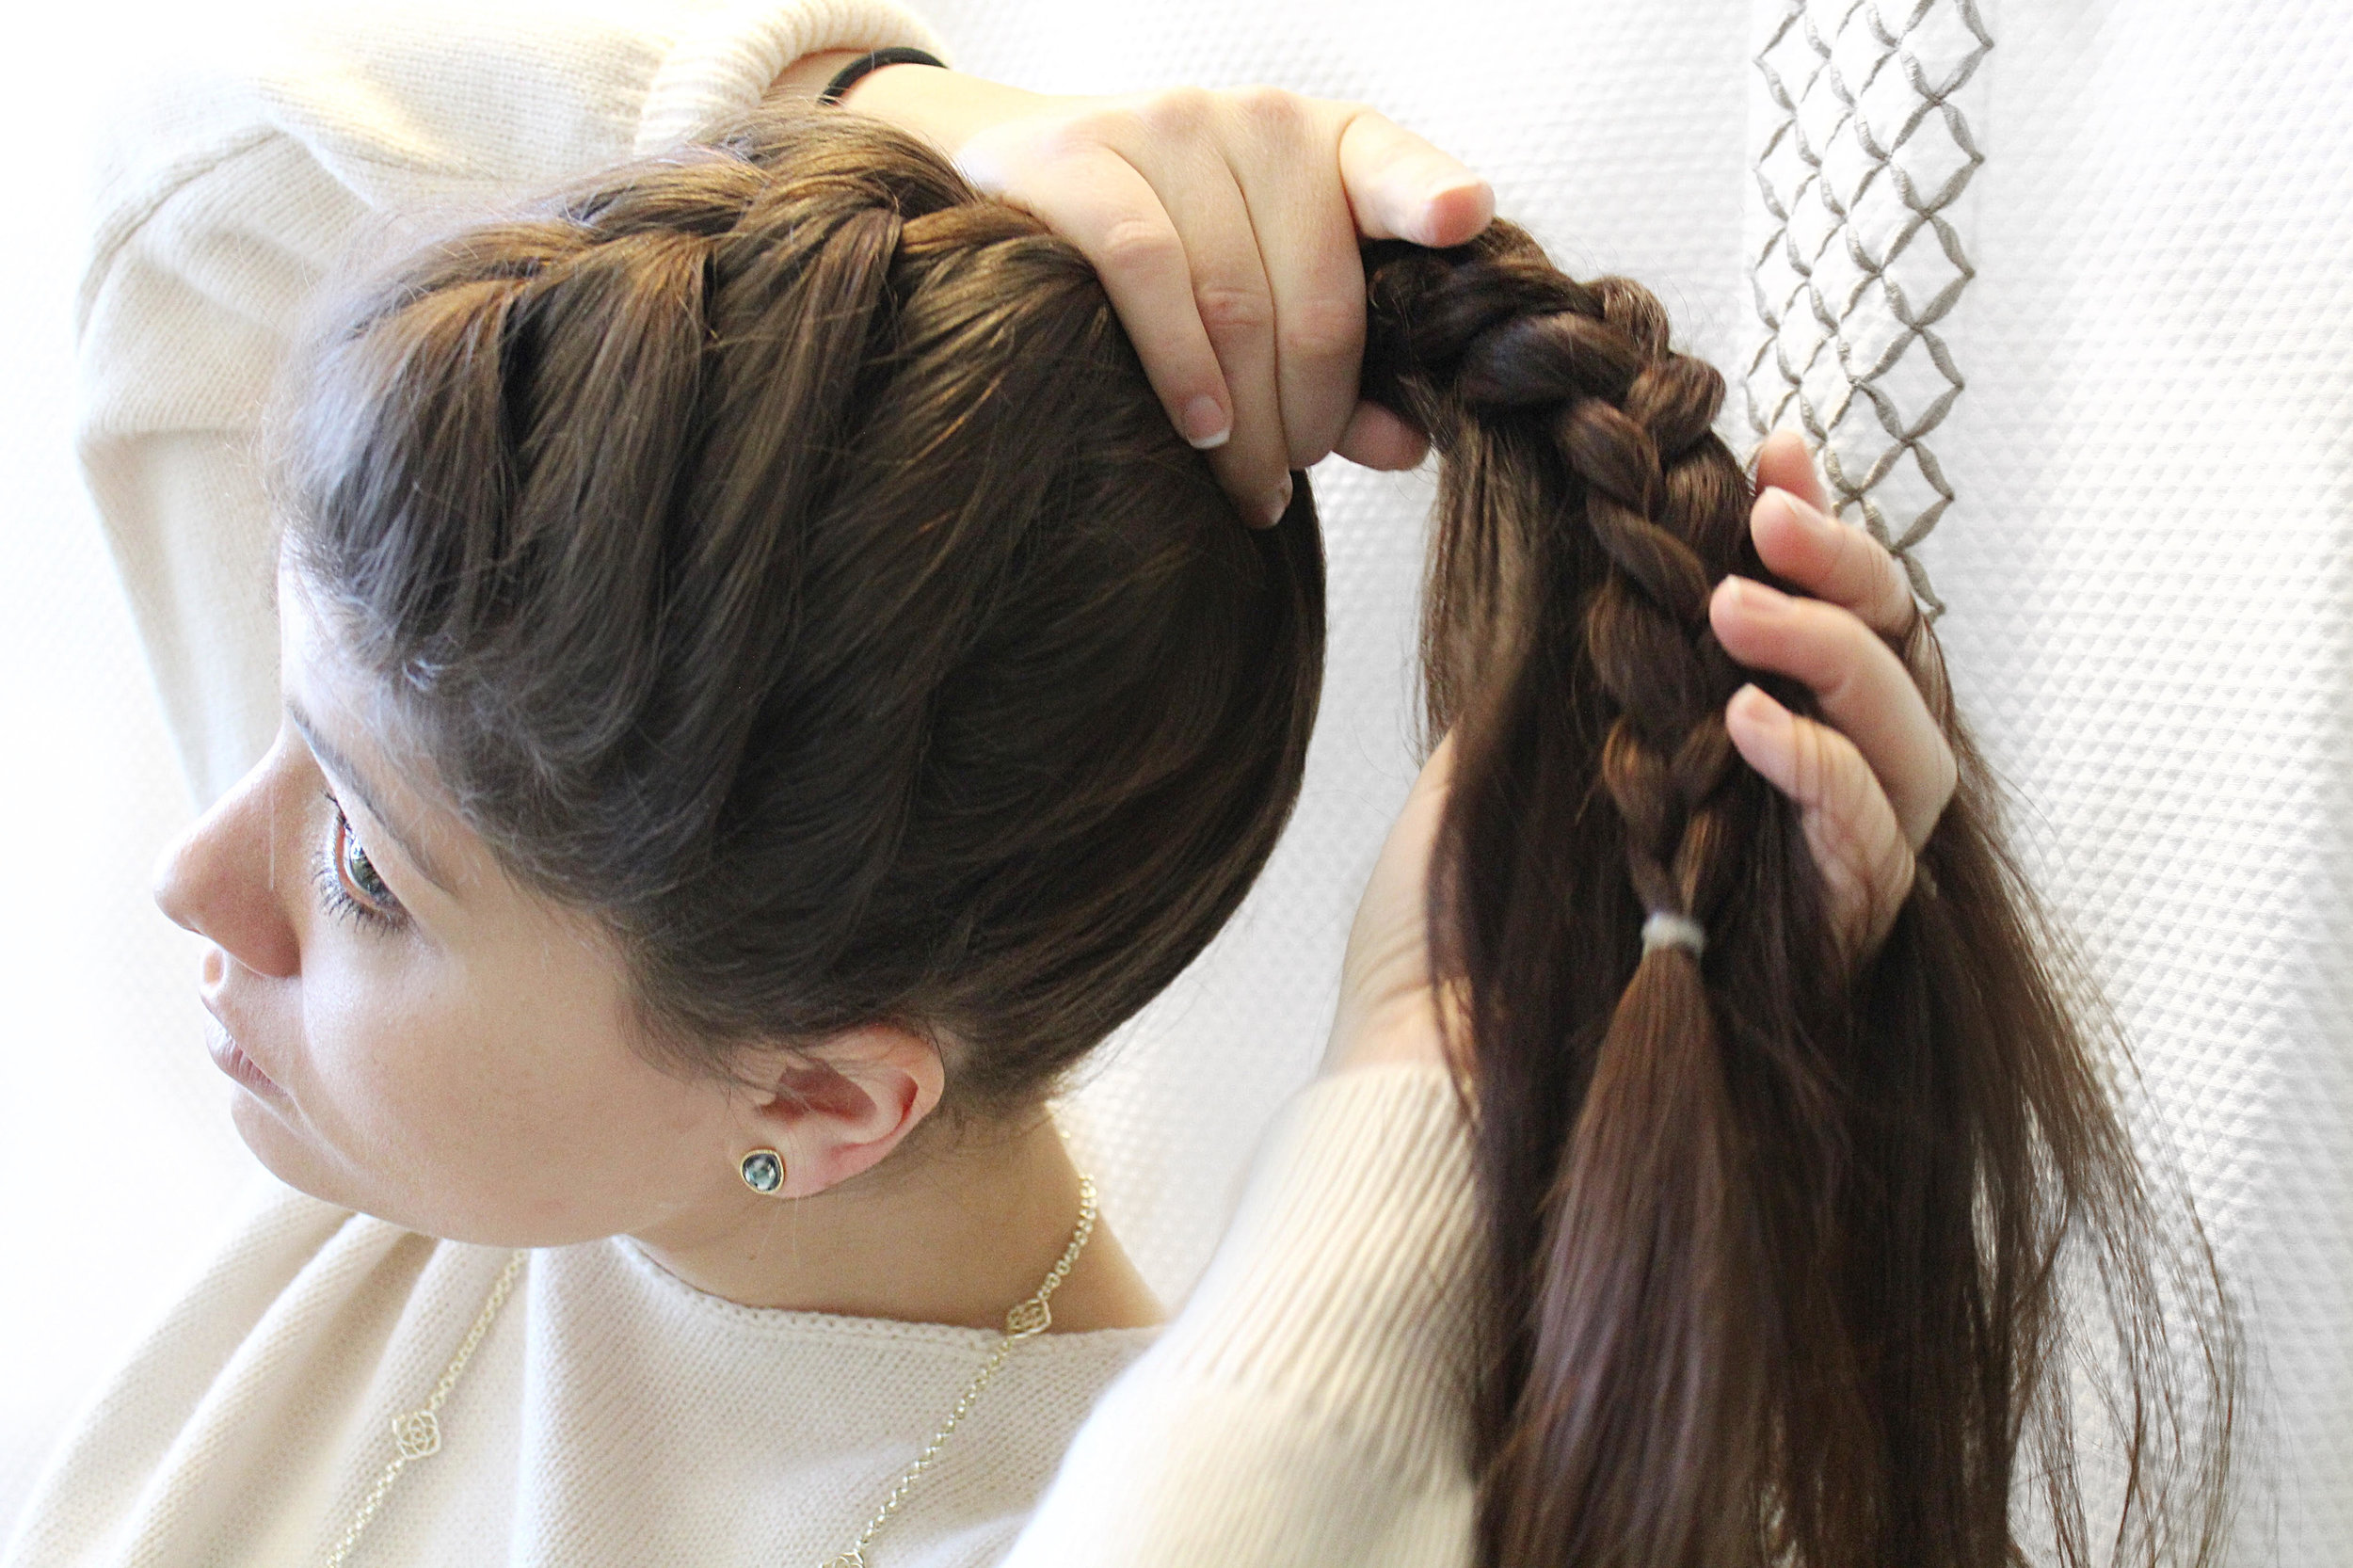
Step 1: French braid front half of hair. Continue the braid down until the end of your hair (see pictures).
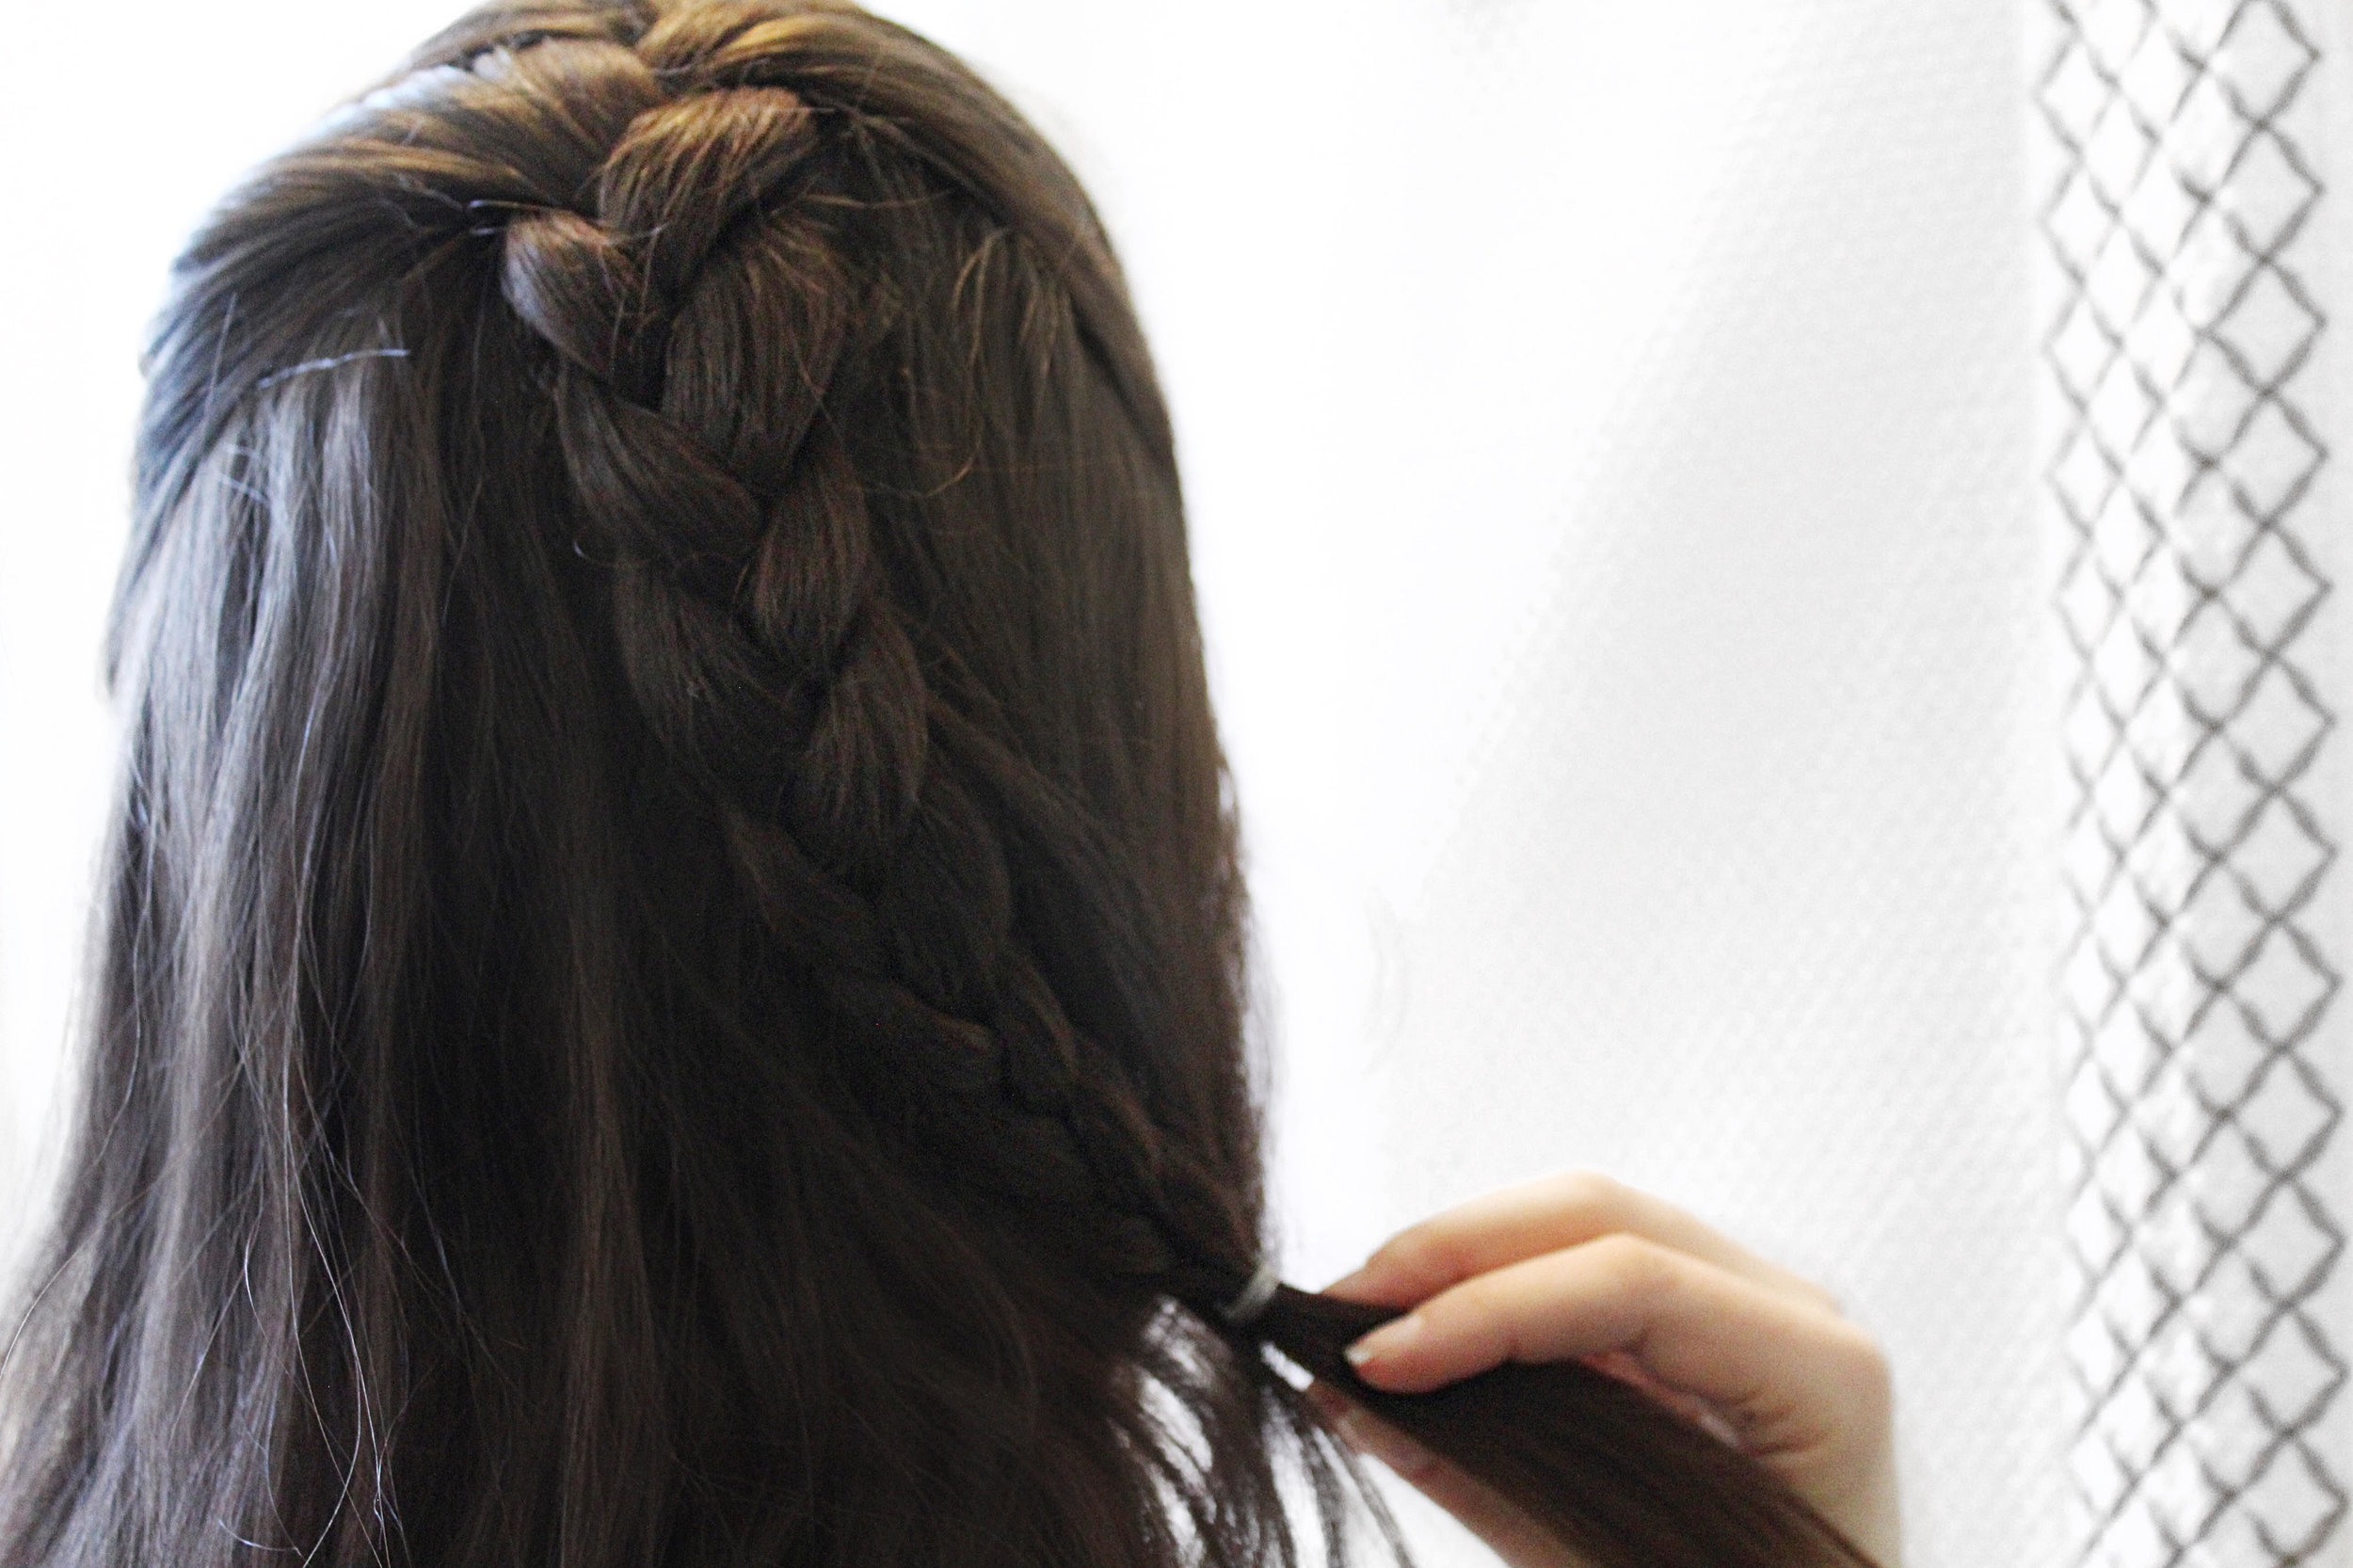
Step 2: Grab the rest of your hair and put it in a ponytail.
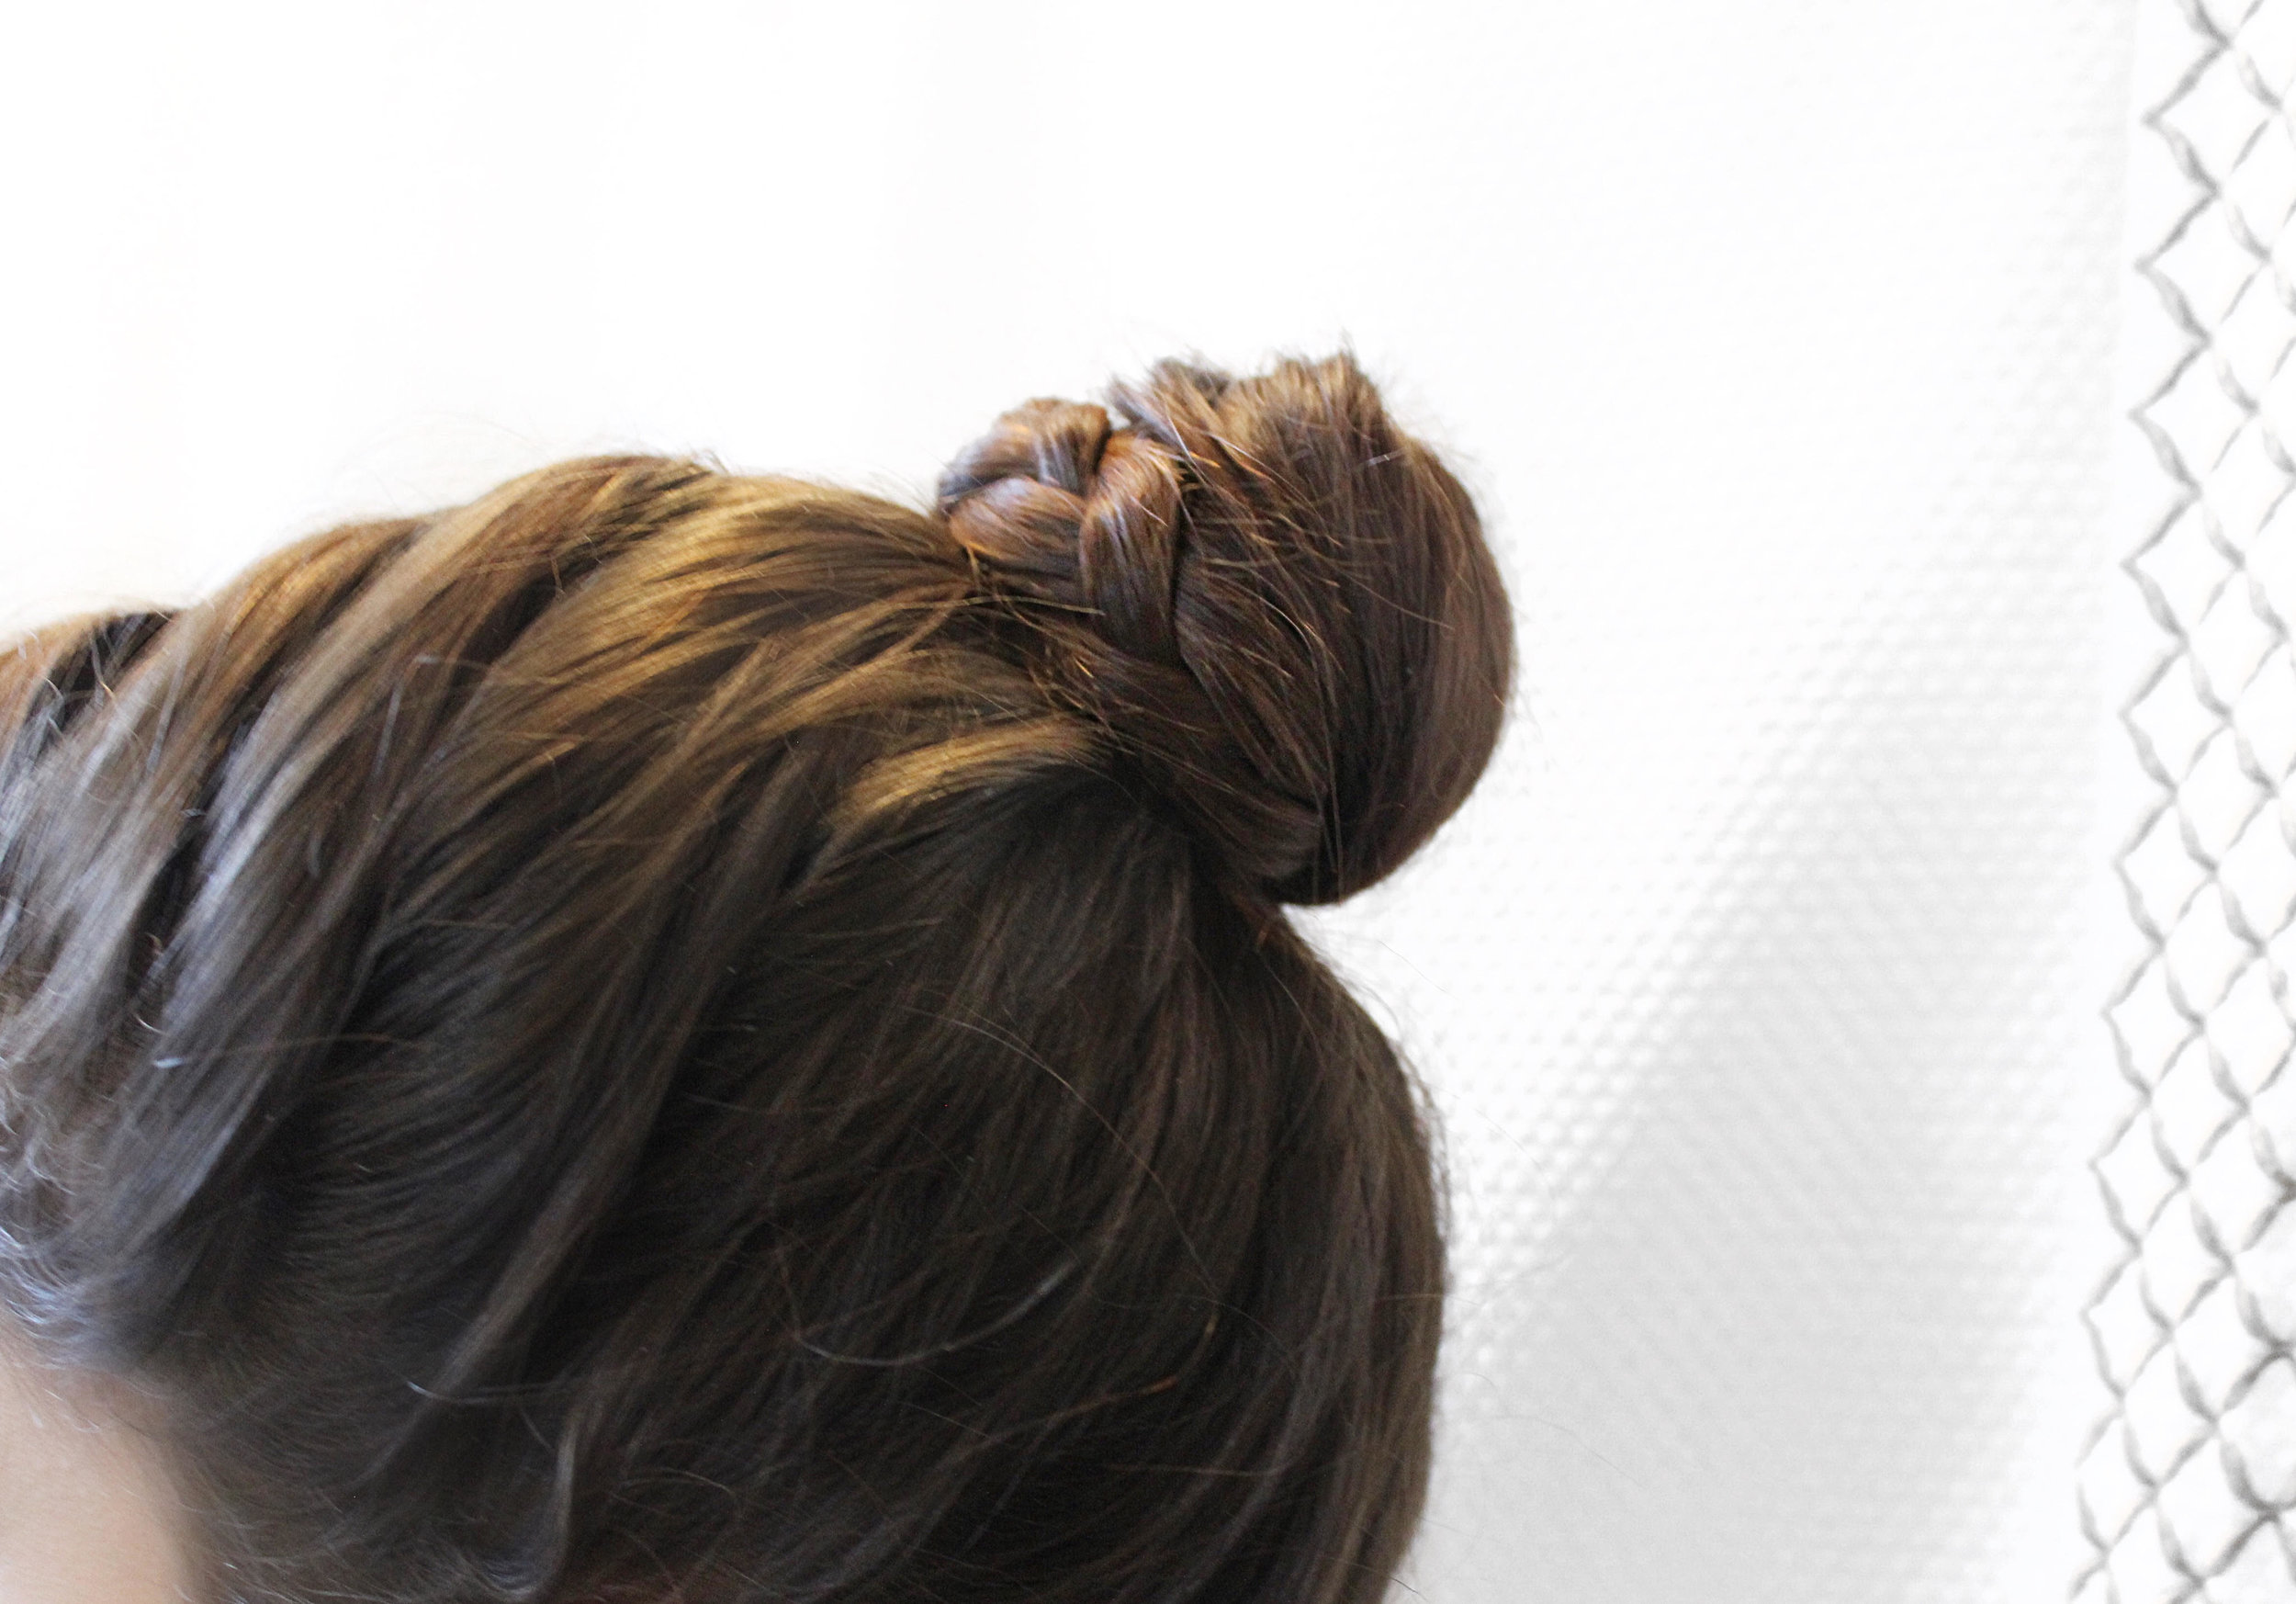
Step 3: Wrap the hair into a bun. If you want a bigger bun with more volume, tease the hair prior to wrapping it into a bun (I did not this time). Make sure the braid is on the outside of the bun so you can see it.


Step 4: Secure the bun with bobby-pins.


Step 5: Cut off the elastic hair tie (if visible). Be careful not to cut your hair of course (I used cuticle cutters).

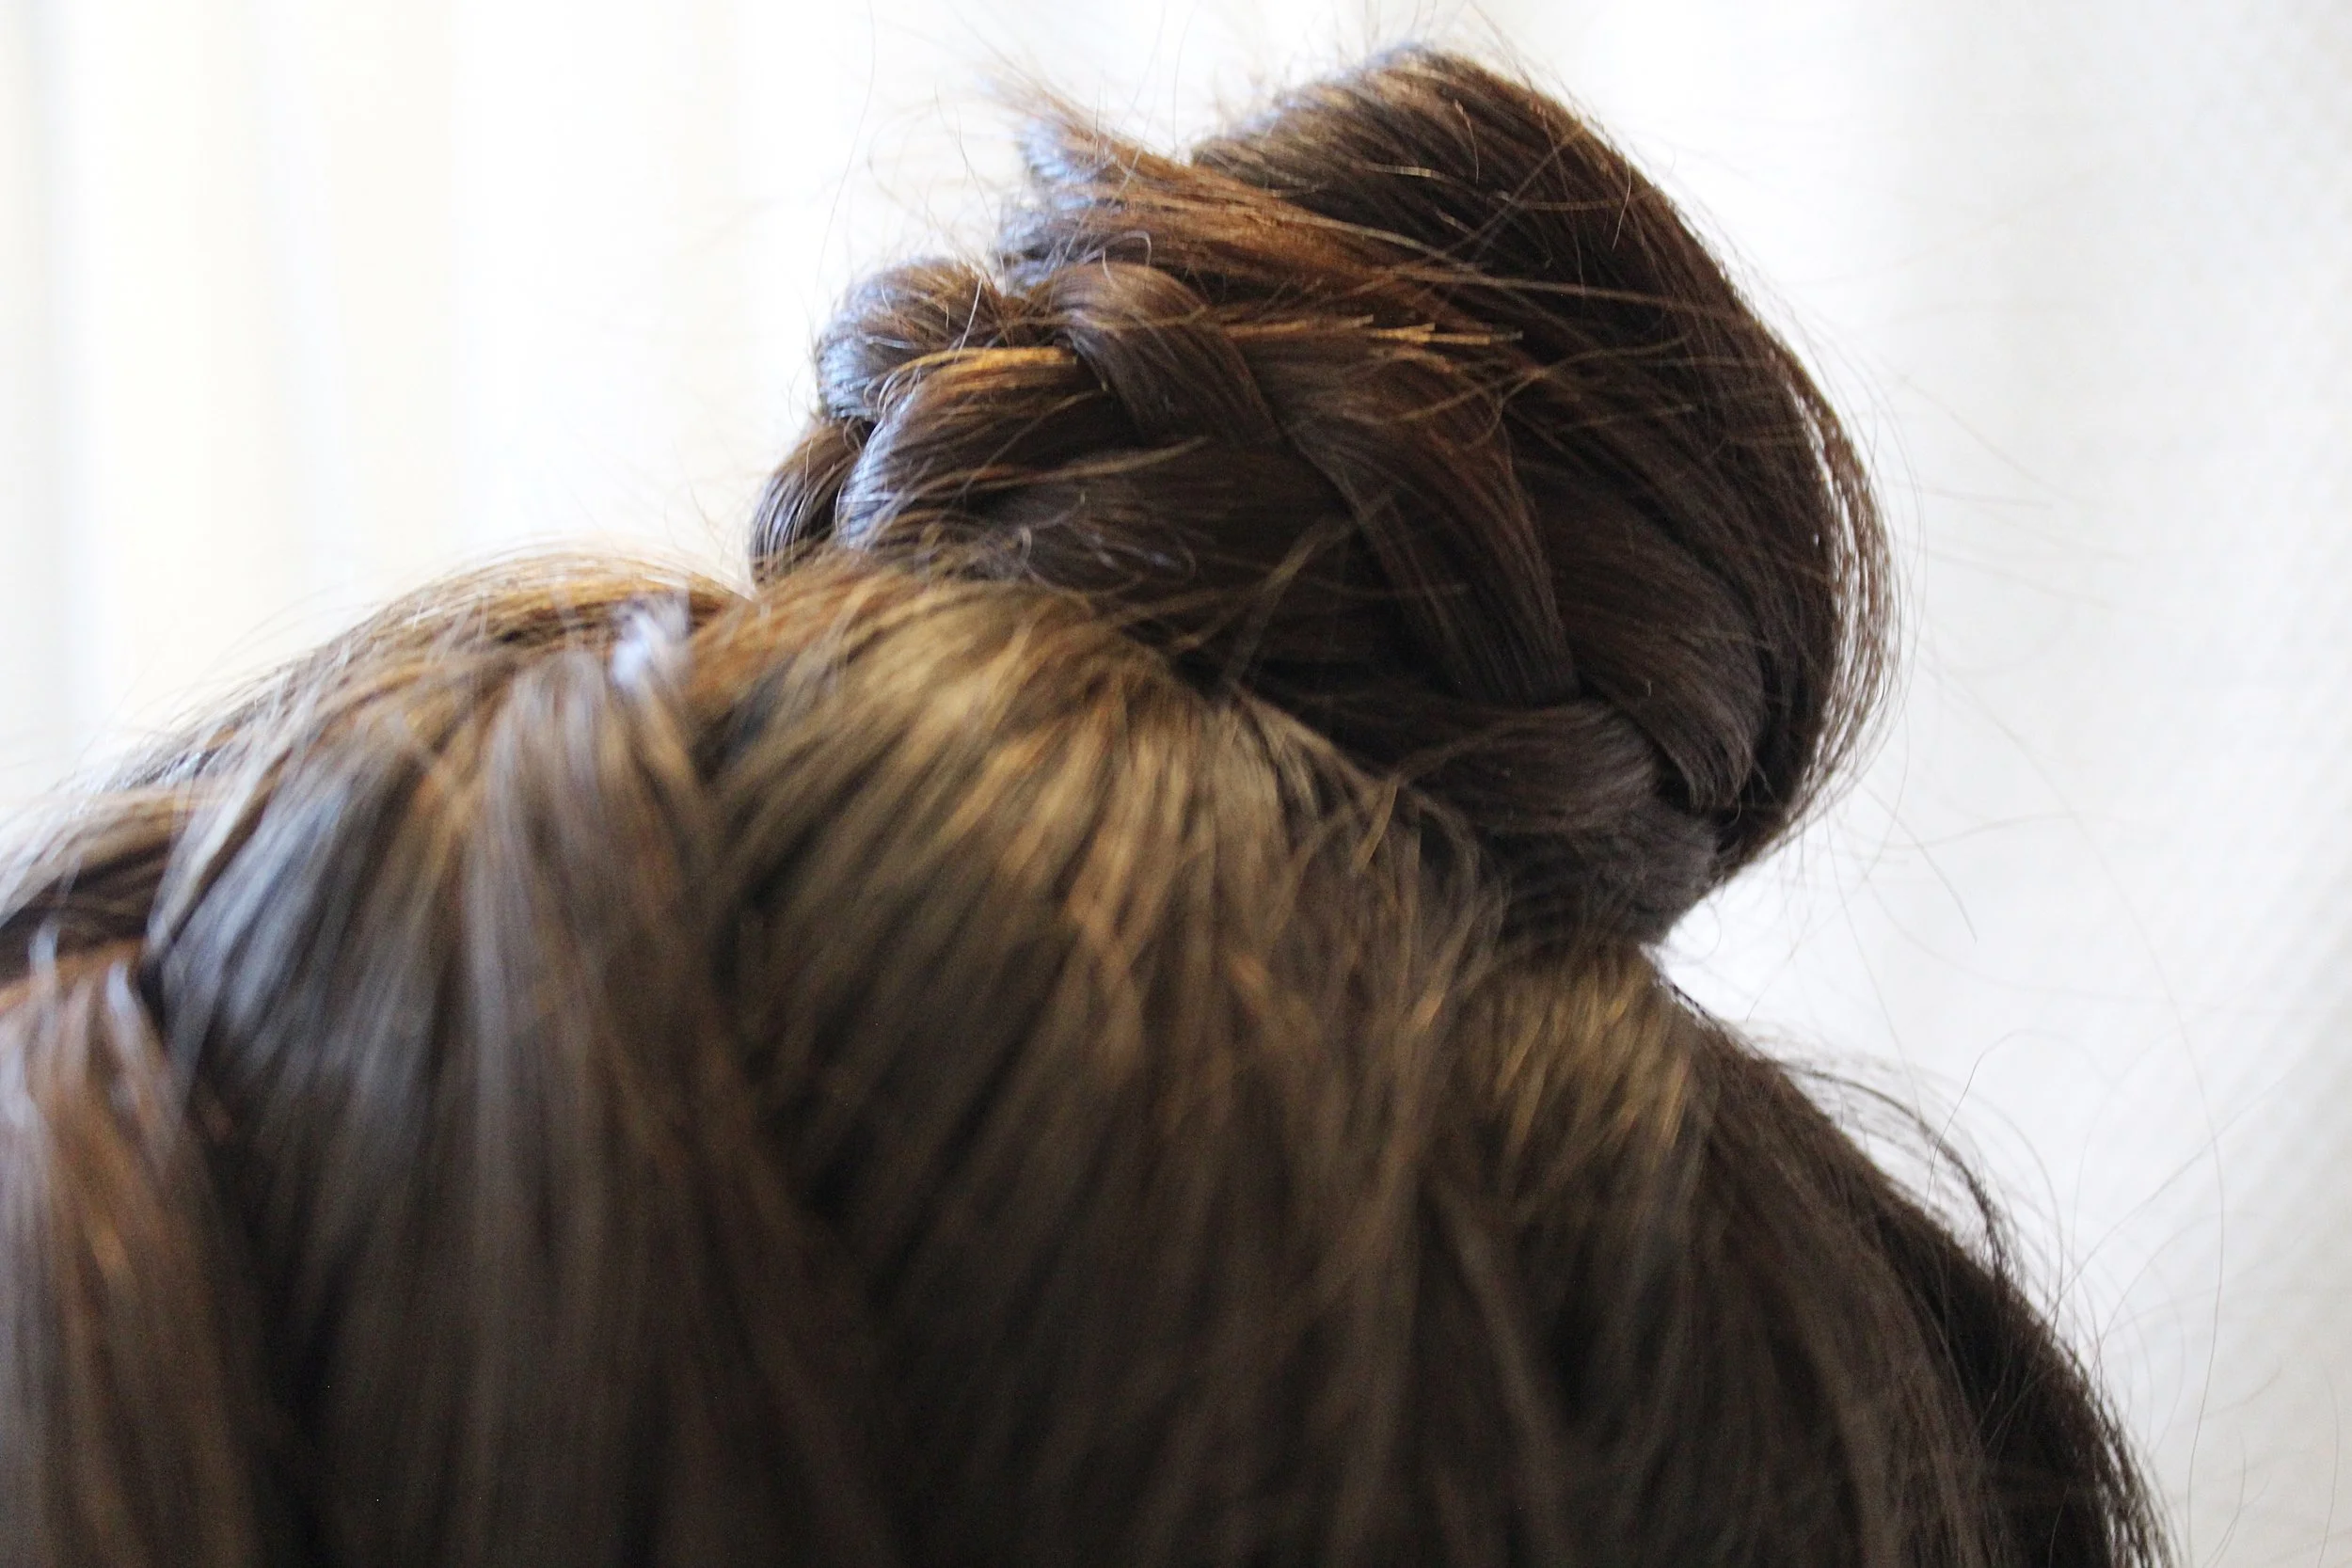
Finished Look:

Products You'll Need To Create This Look:
Save On Pinterest For Later:
You Might Also Like: